Speaking of Japanese cuisine, you should be not unfamiliar with the term Bento! :D A simple tradition bento usually consist of rice, fish/meat and a salad dish. I always awed by some homemakers whom can make extremely beautiful bento for their family. It actually takes up quite some time and energy to prepare a healthy and balanced bento box! I do not usually make such an effort to create cute bento for the kids....hehehe
As I've prepared these 3 Japanese dishes today, they look rather plain and boring when standalone. Therefore I decided to present them in a bento style! As I was busying trying to arrange the food, my girl woke up from her nap and discovered the brown bear, can't help exclaiming 'wah!!! for me??!' >0< Not wanting her to 'destroy' the brown bear yet hahaha....I've gave her a undecorated inari-sushi and she chomped it down in a flash!
Inari-sushi
Kindled Chicken and Lotus Root &
Crab Stick, Hijiki Seaweed & Cucumber Side Dish
Recipe ref : 'The Japanese Kitchen' by Masaki Ko
Inari-sushi
Ingredient (10 wraps)
- 10 sheets fried tofu
- 200ml instant dashi (dissolved 1 sachet 10gm dashi powder into water)
- 3 tbsp sugar
- 7 tsp light soy sauce
- 2 tbsp rice wine
- 2 tbsp mirin
- dash of rice vinegar
For rice :
- 240gm Japanese rice
- 1 tbsp sake
- 2 tbsp rice vinegar
- 1 tbsp sugar
- 1/2 tsp salt
Method
- Lay a sheet of fried tofu on a board. Using a chopstick as a rolling pin, roll the tofu, this will ensure that it opens easily when boiled.
- Bring a saucepan of water to boil and blanch the tofu to remove excess fat. Drain and squeeze away liquid. Use a scissors and make a slit at one edge of the tofu.
- Bring the stock, sugar, soy sauce, rice wine, mirin and rice vinegar to a boil.
- Add the tofu, cover with a parchment paper, and simmer on low heat until the liquid has almost evaporated. It takes about 15 mins. Press down the parchment paper occasionally to squeeze the liquid from the tofu and prevent the pockets from filling. Drain and cool.
- For the rice : Heat the sushi vinegar mixture and leave to cool.
- Cook the rice, add 1 tbsp sake together with the measured cooking water. When rice is cooked, add the sushi vinegar immediately and stir well to mix.
- Divide the warm rice between the tofu and fold the tofu to enclose the rice in neat parcels.
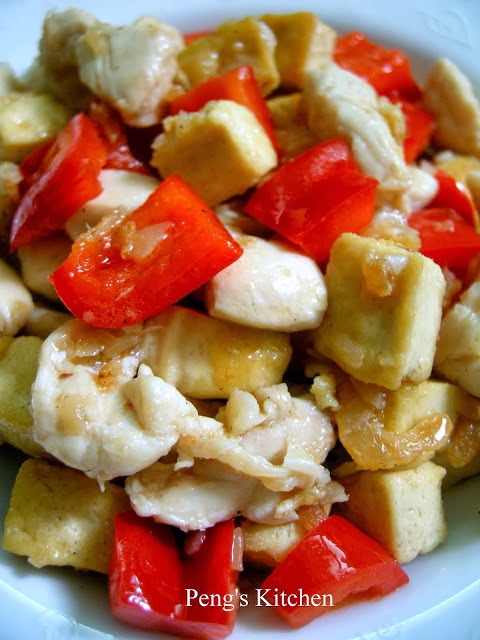
Tori To Renkon no Takiawase
Kindled Chicken and Lotus Root (Tori To Renkon no Takiawase)
Ingredient
Chicken (marinate & set aside)
- 3 chicken thighs, chopped into bite size (approx 450gm)
- 1 tbsp sake
- 1/2 tsp salt
- 6 shitake mushroom, softened
Lotus Root (soak in vinegar water for 10mins)
- 200gm lotus root, sliced
- dash of white vinegar
Simmering liquid
- 3 cups dashi stock (dissolve 10gm dashi powder into water)
- 3 tbsp light soy sauce
- 3 tbsp sugar
- 6 tbsp sake
- 1 tbsp mirin, divided
Method
- Bring simmering liquid to boil. Divide into 2 portions.
- Add lotus root into 1 pot and chicken pieces with mushroom into another.
- Bring to boil. Cover the pot and simmer on low heat for 15 mins.
- Add mirin into each pot and continue to simmer until liquid reduce.
Crab Stick, Hijiki Seaweed & Cucumber Side Dish
Recipe ref : 'The Japanese Kitchen' by Masaki Ko
Ingredient
- 15gm dried hijiki seaweed
- 6 crabstick, blanched lightly with hot water
- 200gm cucumber, thinly sliced
Dressing :
- 4.5 tsp sugar
- 1/3 tsp salt
- 100ml rice vinegar
- 1/2 light soy sauce
Method
- First make the vinegar dressing. Dissolve the sugar and salt thoroughly in the vinegar, then stir in soy sauce and chill.
- Soak the hijiki seaweed in water for 25mins. Drain away water and rinse well.
- Meanwhile, dissolve 1 tsp salt in 200ml water and add the sliced cucumber. Set aside for 5 mins. Drain the cucumber and gently squeeze out the water.
- Shred the crab sticks.
- Combine hijiki seaweed, cucumber and crab stick. Add vinegar dressing and toss lightly together. Serve immediately.
This post is linked to the event, Little Thumbs up organised by Doreen from my little favourite DIY and Zoe of Bake for Happy Kids, hosted by Mich of Piece of Cakeat this post.