
Oh no not another chiffon cake! hehehe can't help it as I wanna to use up the ripen bananas for baking before the 2 monkeys in the house snap them up ^0^ Actually I just want to attempt my banana chiffon cake again which I've failed miserably before. This time round I've tried a recipe from a Japanese cookbook and it worked out beautifully! If you read through the recipe of my past few chiffon posting, you will notice that I did not add cream of tartar into the meringue. By just using cold egg whites and beating in the sugar till stiff peak, the structure still turn out very well despite the absent of cream of tartar.
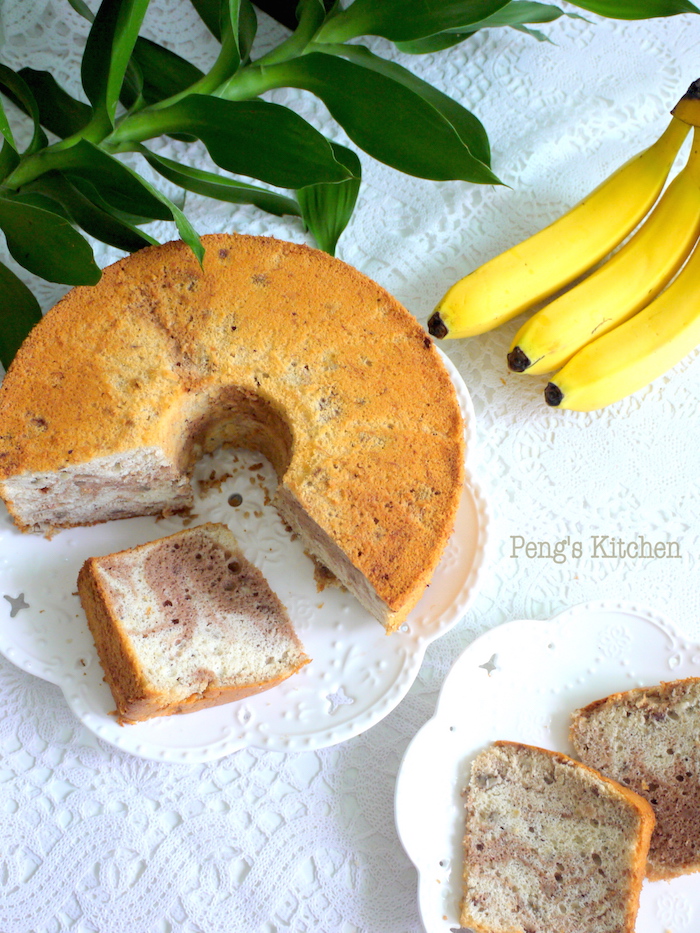
I prolong the baking time to 50mins to ensure it is thoroughly baked


Yeah the whole cake is nicely browned!

Lovely bananas flavour without additional artificial flavouring needed, moist and fluffy. With added grounded hazelnut did not alter the taste, just added texture to this light chiffon cake.

Recipe ref : “超Q润威风蛋糕” by 赤堀博美
Ingredient
- 80gm egg yolks
- 60gm sugar
- 80gm corn oil
- 80gm milk
- 300gm ripen banana, mashed & mixed with 2 tsp lemon juice
- 1/2 tbsp vanilla paste
- 160gm cake flour
- 50gm ground hazelnut
- 1/4 tsp salt
- 1 heap tbsp of Nutella
- 280gm cold egg whites
- 40gm sugar
- Beat yolks and sugar until pale and fluffy. Add in oil, milk, and vanilla, stir well to combine. Add in mashed bananas.
- Sift in flour and salt and fold till smooth batter formed. Stir in ground hazelnut.
- Weigh about 200gm of the batter and add in Nutella. Mix well.
- In a clean, dry bowl, beat cold egg whites on high speed till bubbly. Beat in sugar gradually until stiffed peak formed.
- Scoop 1/3 of the beaten whites into the Nutella batter. Mix well. Fold in balance meringue into plain batter.
- Pour the 2 mixture alternately into an ungreased tube pan and bake in preheated oven at 180 deg cel for 45-50 mins.
- Remove pan from oven and invert onto wire rack to cool completely before unmoulding.

This post is linked to Best Recipes for Everyone June 2015 Event Theme: Secret of Chiffon & Roll Cakes organized and hosted by Fion of XuanHom's Mom Kitchen Diary


